Building a fence can be one of the most satisfying home improvement projects you undertake. A well-constructed fence boosts your property’s curb appeal, offers needed privacy, and enhances security. Yet, to build a sturdy fence that can withstand the elements, you’ll need careful planning and execution. This guide provides you with essential steps from RPK Construction to create a lasting fence.
Planning Your Fence
Before starting your construction, thorough planning is key. Ask yourself why you want the fence: Is it for privacy, security, or aesthetics? Your purpose will influence your decisions.
Think about the materials you want to use and how much you can spend. For instance, if your goal is privacy, you might lean toward a solid wood fence, while a chain-link might suffice for security around a pet area.
Make sure you understand local regulations, like height restrictions. For example, many neighborhoods allow fences up to six feet tall. It’s also smart to confirm your property lines by checking your deed or consulting local authorities. Sketching a design with measurements creates a clear roadmap for your project.
Choosing the Right Materials
The choice of materials significantly affects both the appearance and durability of your fence. Here are some common materials, along with their pros and cons:
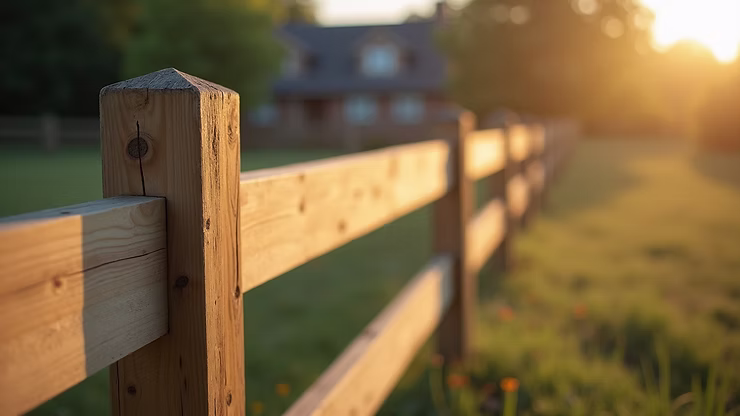
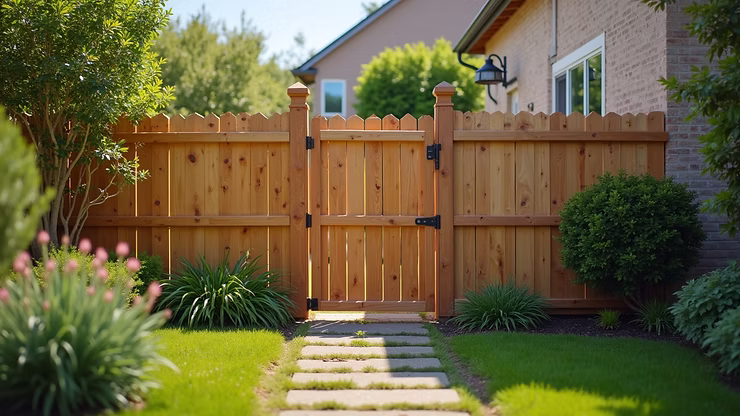
Wood: This classic option is versatile and can be customized to fit any style. However, expect to spend time on maintenance such as staining or sealing every few years.
Vinyl: Known for its durability and low maintenance, vinyl fences can last over 30 years. Yet, they might lack the charm of natural wood.
Iron: Iron fences provide a strong and durable option that enhances security while adding elegance to your property. Though they may require some maintenance to prevent rust, they offer a timeless look and can be quite decorative.
Aluminum: This option is lightweight and resistant to rust. While it can be more costly upfront, it adds a sleek look and requires less maintenance over time.
Consider how each material fits your budget and your desired look for your property.
Setting Boundaries
Choosing your materials is just the beginning. Now it’s time to define where your fence will go. Use stakes and string to clearly outline the area. This step avoids any encroachments and potential disputes with neighbors.
Double-check your property lines with a surveyor if necessary. Keeping your neighbors informed about your project can foster goodwill and may even result in shared responsibilities.
Digging Post Holes
Digging post holes is critical for a durable fence. You typically want to dig holes that are at least one-third the height of your fence. For a six-foot fence, this means digging holes about two feet deep.
Using a post hole digger or an auger, create holes that are around 10 to 12 inches in diameter, depending on the width of your posts. Adding several inches of gravel at the bottom of each hole will improve drainage and prevent water from rotting the base of your posts.
Installing Fence Posts
Next, it’s time to set your fence posts. Make sure each post is level and evenly spaced according to your design.
Place a post into the hole and adjust it until it’s perfectly vertical. A simple level will help you check. Once aligned, fill the hole with concrete to secure it. Depending on the weather and product used, expect a curing time of at least 24 to 48 hours before continuing.
Repeat this process for each post, ensuring they are all in line.
Attaching the Panels
With the posts securely in place, it’s time to attach the fence panels. The method will vary based on the material you chose.
For wooden fences, use horizontal rails to connect the posts. Secure them with screws or nails. When working with vinyl or aluminum, follow the manufacturer’s guidelines for panel assembly.
Ensure each panel aligns correctly as you attach them for a cohesive look.
Finishing Touches
After the panels are attached, take a moment for the finishing touches. If you chose wood, think about applying a weatherproof stain or paint to shield it from moisture and UV rays.
Vinyl and aluminum fences will look great with little upkeep; a simple hose-down can keep them looking new.
Consider installing a gate that matches the style of your fence. A well-aligned gate enhances functionality and adds to the overall aesthetic.
Maintenance Tips
To maintain your fence and extend its lifespan, regular check-ups are crucial. Wooden fences should be inspected for rot and insect damage. If you spot issues, address them promptly to prevent further problems. Cleaning and sealing can enhance longevity.
For vinyl and aluminum fences, a regular wash will help prevent dirt and debris build-up. Cleaning these materials is straightforward and typically requires little more than soap and water.
Final Thoughts
Building a fence with RPK Construction means focusing on every step, from planning to maintenance. By clearly marking boundaries, selecting the right materials, and following the proper installation techniques, you’ll create a fence that not only enhances your property but also meets your specific needs.
Whether you’re looking to improve the look of your yard, ensure privacy, or add security, a well-built fence is a smart investment in your home. Contact us today and let’s build a better fence!
Recent Comments